Devices & Setup
Switch the microphone or camera at any time — even mid-set — without restarting the app.
Opening setup
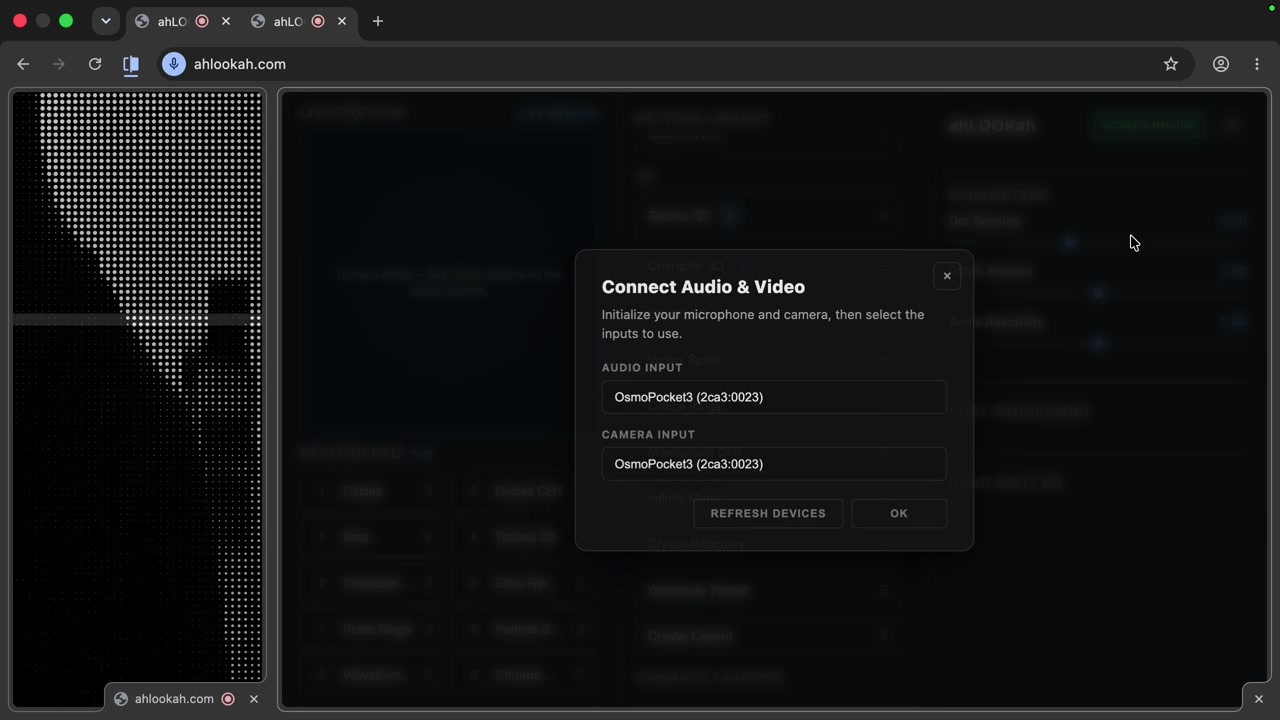
Open the app menu in the control panel and choose Setup. The Connect Audio & Video dialog lets you pick which microphone and camera ahLOOKah should use.
Audio input
The selected microphone feeds the audio analysis that drives the visuals — the beat detection, frequency bands, and noise floor all come from here. Pick your interface, mixer feed, or built-in mic.
Camera input
The selected camera powers the Video FX patterns (chroma key, kaleidoscope, pixelate, trails, and more). It's only used when a camera-based pattern is playing.
Tip Don't see a device? Click Refresh Devices to rescan, and make sure the browser has permission for camera and microphone access.
Saving, opening and starting a project
Everything you save — pattern parameters, pad order, EQ and noise floor, screen calibration, projection layouts, device choices and panel state — is one project. The app menu saves it to a single file, opens it again anywhere, or clears this browser to start fresh. Directory re-linking, script fingerprints and what a project file does and does not carry are covered in Projects.
Note Device selections rarely match across machines, so if audio or camera stops working after opening a project, reopen Setup and pick the inputs for this computer. New Project intentionally keeps the device choices you already made here.