Screen Mapping
Projectors rarely point straight at the surface. Screen mapping is a software keystone: drag the four corners of the output until your picture forms a true rectangle on the wall — no lens adjustment needed.
Enabling it
Screen mapping is a global setting. In the control panel, open Global Settings → Screen Mapping and tick Enable screen mapping. It is off by default, which means ordinary patterns fill the whole output frame.
The editor follows the output window's aspect ratio, and the corners are locked until mapping is enabled — while it is off the output renders full-frame.
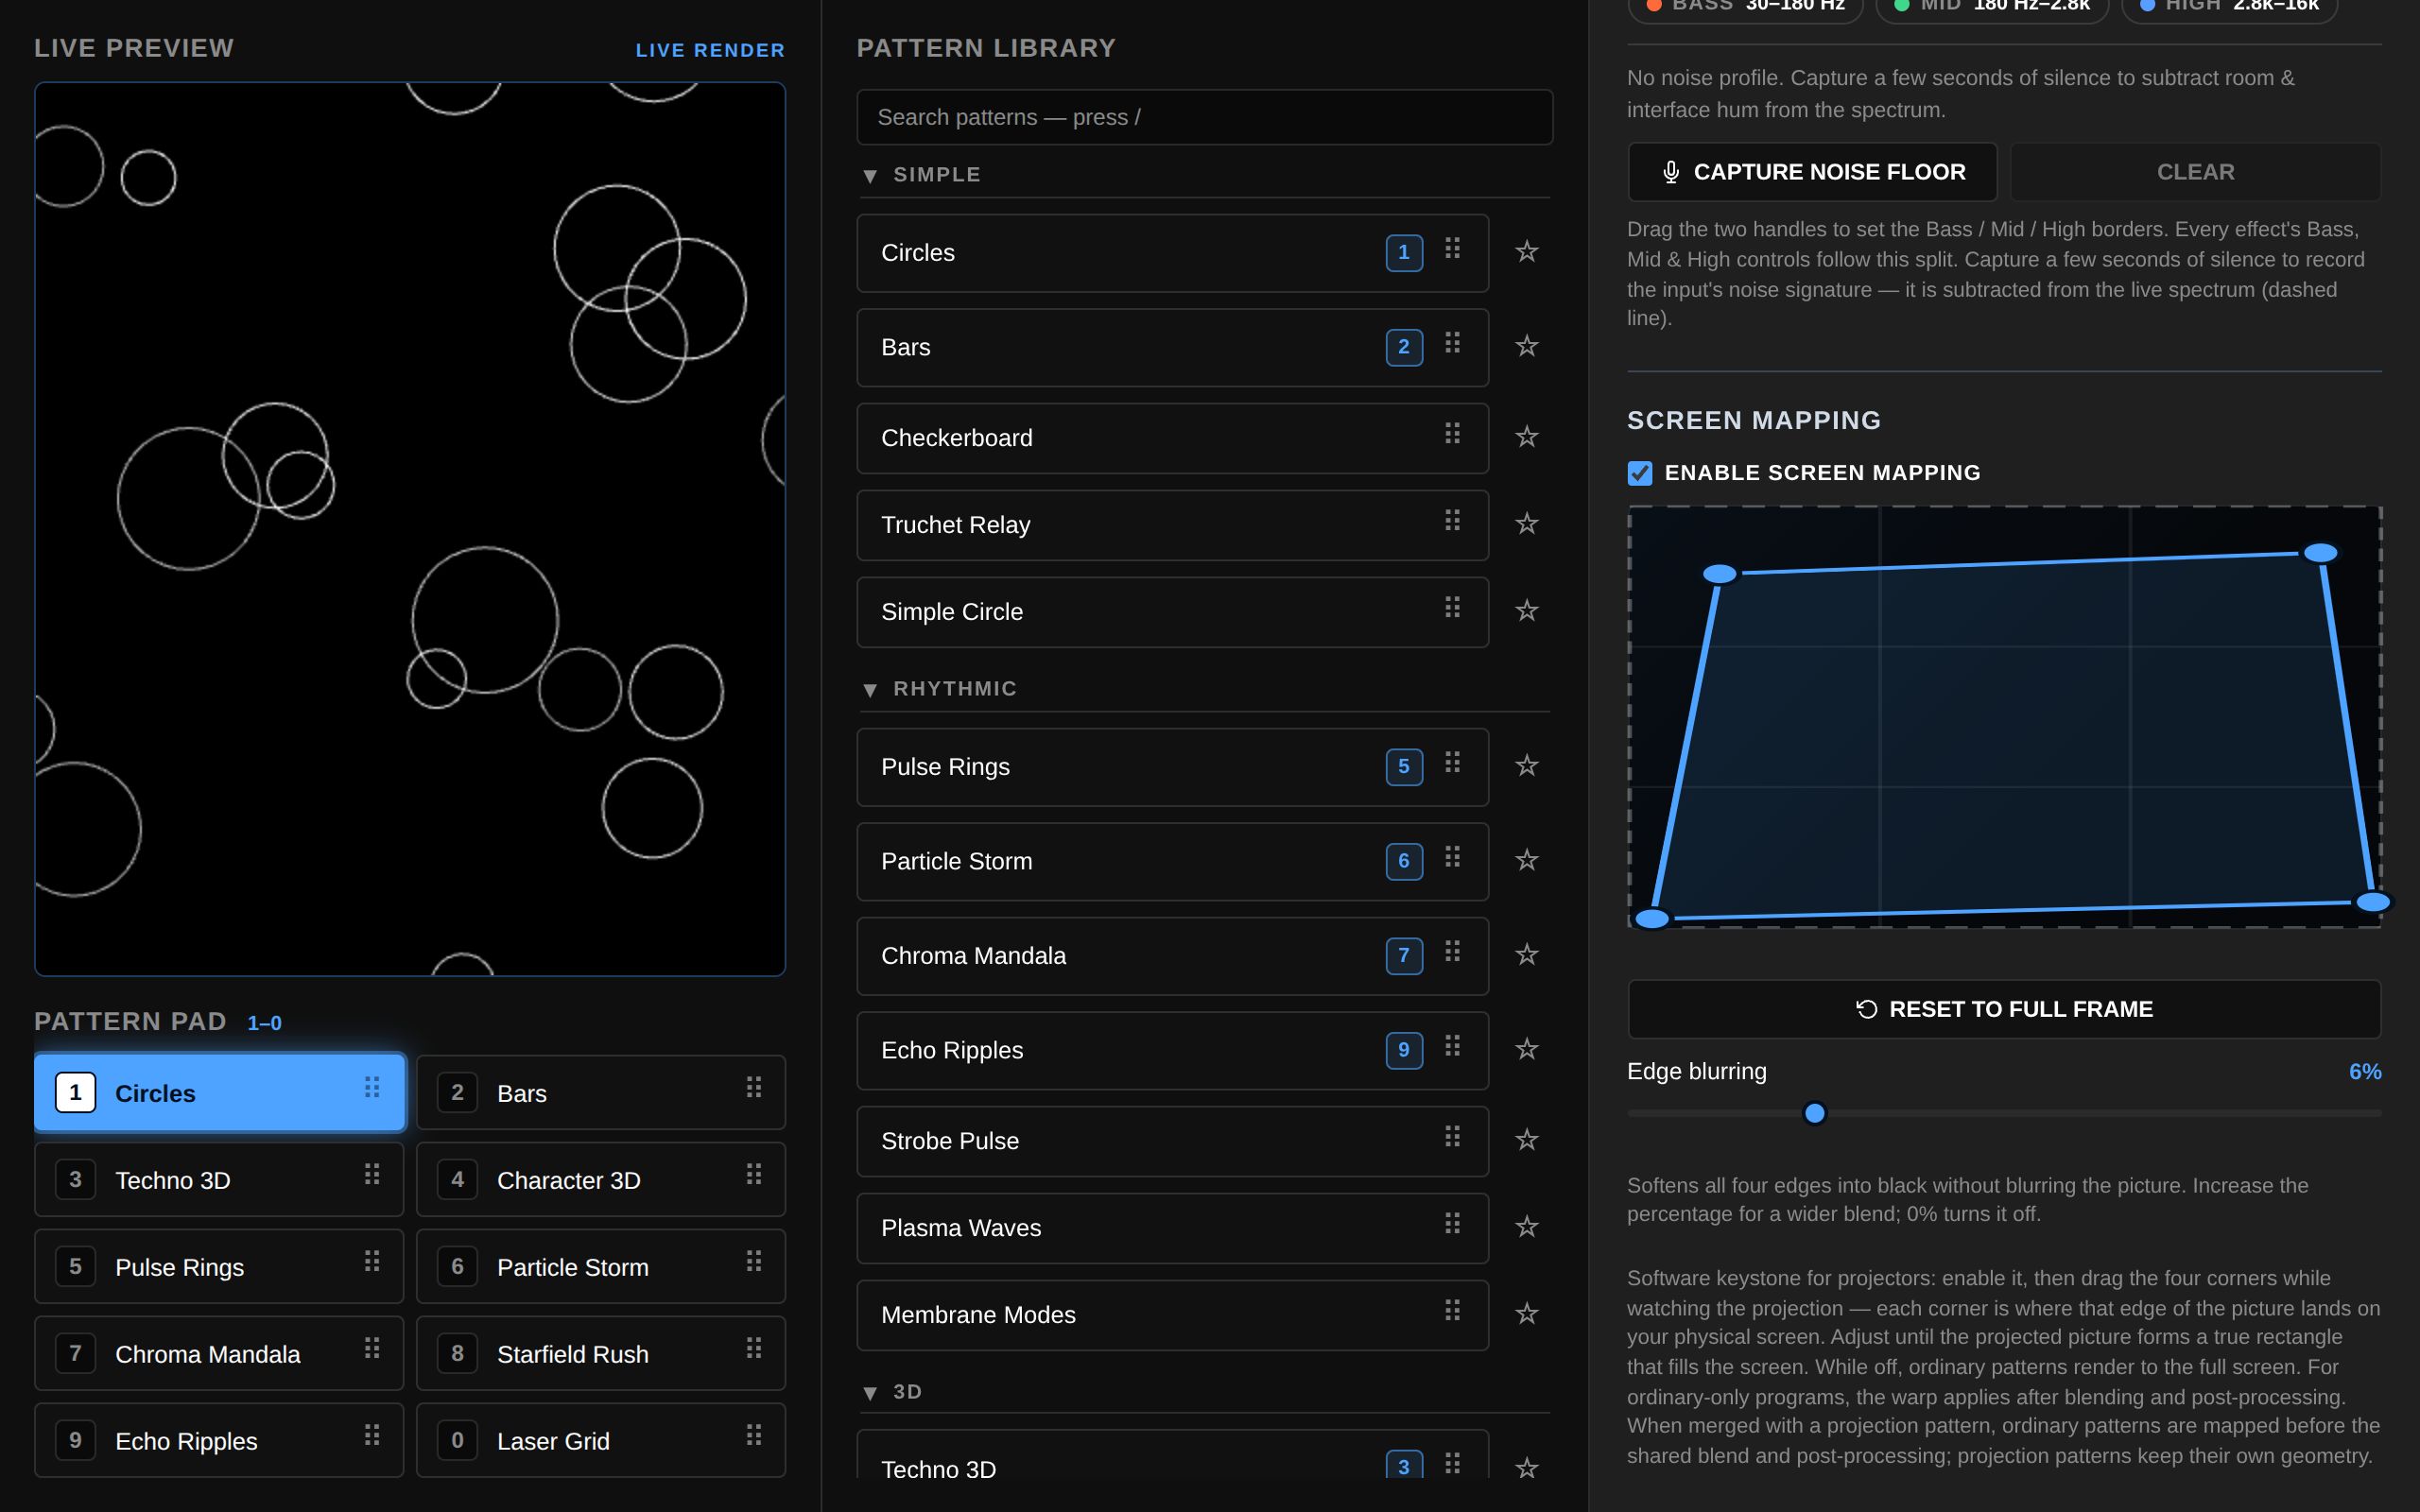
Square it up
- Put the screen window on the projector and play something with obvious edges — a checkerboard works well.
- Drag the handle at each corner of the guide box — top-left, top-right, bottom-right and bottom-left. Each corner is where that corner of the picture should land on your physical surface.
- Keep adjusting until the projection is rectangular and fills the screen. Every change applies to the output in real time, so you can stand at the projector and drag on the laptop.
Reset to Full Frame clears the warp and returns the output to the untransformed full screen — useful when you move to a different room.
Tip Mapping a single projector in a flat room? Leave it off. Screen mapping is opt-in precisely so ordinary sets pay nothing for it.
Edge blurring
Edge blurring (0–25%) gently fades all four edges of the output into black. It's the soft blend you want where two projectors overlap, and it never softens the picture itself. At 0% it is off.
Unlike the corner warp, edge blurring works even while the corners are still at full frame. It saves with the rest of your screen calibration, survives CUE/TAKE, and is included in exported settings.
What it applies to
- Ordinary programs — the warp is applied after blending and post-processing, so the grade and merge happen first and the geometry comes last.
- Projection mapping patterns — these keep their own per-surface geometry. A live projection pattern bypasses the global screen mapping (your calibration is preserved, not deleted and not applied), and the panel says so while it's selected.
- Merged programs — when an ordinary pattern is merged with a projection pattern, the ordinary input is mapped first, then the shared blend and post-processing run.
Mapped output uses a WebGL2 subpixel sampling pass (16 samples per physical output pixel, on a 4×4 grid) so sloping edges and gaps stay smooth instead of stair-stepping. The extra GPU work only happens while mapping is enabled and the quad is warped or edge blurring is on; turning mapping off releases it. If the GPU path can't start, a calibrated CSS fallback keeps the alignment intact.
Saved with your calibration Corner positions and edge blurring are stored in this browser alongside your other settings, and travel in Save Project. See Devices & Setup.